In recent years, the concept of upcycling has gained significant popularity as more people strive to reduce waste and embrace sustainability. Upcycling is not just about recycling; it’s about repurposing materials that might otherwise end up in a landfill and transforming them into something beautiful, functional, and, in this case, garden-friendly.
When you think about garden decor, you might envision purchasing fancy ornaments, pots, or sculptures from a store. However, what if you could create unique, personalized pieces using items that are likely already cluttering your home? One of the most versatile and easily accessible materials for DIY garden decor is the humble old metal can.
Old metal cans, from food tins to coffee containers, offer an excellent base for upcycled garden projects. With a bit of creativity and minimal effort, these often discarded items can be turned into eye-catching planters, bird feeders, lanterns, and more. This not only adds a unique charm to your outdoor space but also helps reduce waste. By repurposing these cans, you’re participating in the eco-friendly practice of upcycling—contributing to environmental preservation while beautifying your surroundings.
The Environmental Impact of Upcycling
It’s important to understand that the benefits of upcycling go beyond your garden’s aesthetic appeal. By choosing to upcycle old metal cans instead of buying new garden decor, you’re cutting down on waste that would otherwise contribute to overflowing landfills. Metal cans take years, sometimes decades, to decompose, contributing to environmental pollution. Repurposing them extends their lifecycle, reducing their environmental footprint.
Moreover, manufacturing new garden decor from raw materials consumes significant resources, including energy, water, and raw materials like metals or plastics. By reusing materials you already have, you’re lowering your carbon footprint and reducing demand for new products. This DIY approach saves money, reduces waste, and makes for a great conversation piece when people admire your handiwork in the garden.
In this article, we will guide you through a series of easy, fun, and eco-friendly projects using old metal cans, starting with how to clean and prepare them for your creative endeavors.
How to Clean and Prepare Old Metal Cans for Garden Decor Projects
Before diving into your creative DIY projects, it’s crucial to properly clean and prepare the old metal cans you plan to upcycle. Preparing the cans not only ensures they are safe to use but also allows for smoother decoration processes, such as painting, cutting, and adding embellishments. Here’s a step-by-step guide on how to prepare old metal cans for garden decor.
Step 1: Gather Materials and Tools
The first step in preparing old metal cans is to gather the necessary materials and tools. You’ll need:
- Old metal cans (any size, from small food tins to large coffee cans)
- Warm water and dish soap
- A sponge or scrub brush
- Baking soda (optional for stubborn stains)
- A soft cloth or paper towel for drying
- Sandpaper (fine-grit) for smoothing rough edges
- Gloves (for safety when handling sharp edges)
- A can opener (if you need to remove sharp lids)
Step 2: Remove Labels and Residue
Once you’ve collected your old metal cans, the next task is to remove any paper labels or glue residue. Start by soaking the cans in warm, soapy water for 10–15 minutes. This softens the glue and makes it easier to peel off the labels.
For cans with particularly stubborn labels, add a bit of baking soda to the water. This helps break down the adhesive. After soaking, use a sponge or scrub brush to gently scrub off the paper and any leftover glue. If the glue is still difficult to remove, try using a bit of rubbing alcohol on a cloth to dissolve it.
Step 3: Clean and Sanitize the Cans
Cleaning is vital to ensure that your metal cans are free from any leftover food residue or grime, which could affect their durability and appearance in your garden. Using warm water and dish soap, scrub the inside and outside of the cans thoroughly. Rinse them well to remove all soap and grime. If you’re repurposing cans that contained food, it’s a good idea to sanitize them by soaking them in a mixture of water and vinegar or boiling water for a few minutes to kill any lingering bacteria.
Once cleaned and sanitized, dry the cans with a soft cloth or paper towel. Make sure they are completely dry before moving on to the next steps, especially if you plan to paint them. Any remaining moisture can interfere with the adhesion of paint or other decorative materials.
Step 4: Smooth Rough Edges and Sharp Lids
Metal cans can have sharp edges, especially around the top where the lid was removed. To avoid injuries while handling or displaying your upcycled garden decor, use fine-grit sandpaper to smooth down any rough or sharp edges. Simply rub the sandpaper gently over the edges until they feel smooth to the touch. If the lid is still attached and has sharp edges, carefully use a can opener to remove it completely. Wearing gloves during this process will provide extra protection from accidental cuts.
Step 5: Prepare for Decoration
Once your metal cans are cleaned, sanitized, and smoothed, they’re ready for decoration! Whether you plan to paint, punch designs into the cans, or glue decorative elements onto them, having a clean and well-prepared surface will make the process much easier and more enjoyable.
Depending on the final project you have in mind, you might want to create drainage holes if you’re making planters or punch holes for hanging lanterns. If you’re unsure about what tools to use for cutting or punching holes, a basic hammer and nail work well for most can sizes. For larger cans or more intricate designs, you may need a small metal drill.
Properly cleaning and preparing your old metal cans sets the foundation for durable and attractive DIY garden decor projects. Now that your cans are ready, you can dive into a world of creative possibilities—from planters to bird feeders and beyond. In the next sections, we’ll explore different ways to transform your prepared metal cans into beautiful, eco-friendly garden decorations that reflect your personal style.
DIY Metal Can Planters: A Simple Garden Decor Idea
One of the most straightforward and popular ways to repurpose old metal cans is by turning them into planters. Metal can planters not only add a rustic charm to your garden but also offer a practical solution for those looking to upcycle household materials. Whether you’re creating individual pots for herbs or building an entire vertical garden, metal cans provide a durable and versatile base.
Step-by-Step Guide to Creating Metal Can Planters
- Gather Your Materials:
- Old metal cans (various sizes depending on your plant choice)
- Hammer and nail (for making drainage holes)
- Outdoor-friendly paint (optional for decoration)
- Paintbrushes
- Potting soil
- Plants or seeds
- Rocks or pebbles (for additional drainage)
- Create Drainage Holes: To keep your plants healthy, proper drainage is essential. Using a hammer and nail, punch several small holes in the bottom of each can. These holes will allow excess water to escape, preventing root rot. If you prefer a larger hole, you can use a small drill.
- Decorate Your Cans (Optional): Once your drainage holes are complete, it’s time to let your creativity shine! Paint your cans in vibrant colors to add a pop of brightness to your garden or patio. You could also use stencils, patterns, or even decoupage to personalize the look. If you prefer a more rustic feel, you can leave the cans as they are and embrace their natural metallic look. Make sure to use weather-resistant paint if your cans will be outdoors.
- Prepare for Planting: Before adding soil, it’s a good idea to place a layer of small rocks or pebbles at the bottom of the can. This additional drainage layer helps ensure that water doesn’t accumulate at the base of the planter, which can damage your plants.
- Plant and Display: Fill your decorated cans with potting soil, leaving enough room for the roots of your chosen plants. Metal cans are great for small herbs, succulents, or flowers. After planting, water your new garden additions and place them in a sunny spot. Metal can planters can be displayed on windowsills, garden tables, or hung using twine or wire for a unique vertical garden.
How to Make Hanging Lanterns from Recycled Metal Cans
If you’re looking to create a warm and welcoming atmosphere in your garden during the evening hours, DIY hanging lanterns made from old metal cans are a perfect solution. These lanterns not only add a decorative touch but also provide soft, ambient lighting for outdoor gatherings or quiet nights in your garden.
Step-by-Step Guide to Creating Hanging Lanterns
- Materials Needed:
- Clean metal cans (various sizes, depending on the desired look)
- Hammer and nails (for puncturing the design)
- Wire or string (for hanging)
- Tea light candles or battery-operated LED lights
- Optional: spray paint, ribbons, or decorative elements
- Design Your Lantern: Begin by deciding on a design for your lantern. Simple geometric patterns or floral motifs work well, but you can get as creative as you like. You can lightly sketch the design onto the surface of the can with a pencil or simply use your imagination as you go.
- Puncture the Cans: Using a hammer and nail, carefully punch holes into the can following your design. For more intricate patterns, you may want to use smaller nails or a drill. The holes will allow the light to shine through, creating beautiful, flickering patterns when illuminated.
- Add a Handle: To hang your lantern, you’ll need to create a handle. Punch two small holes on opposite sides of the can’s rim. Thread wire, twine, or string through these holes and twist or knot it securely. Make sure the handle is sturdy enough to support the weight of the can.
- Optional: Decorate Your Lantern: You can spray paint the exterior of the can to match your garden’s color scheme or wrap the handle with ribbons or fabric for an added decorative touch. Metallic spray paint gives the lantern a sleek, modern look, while pastel colors create a more whimsical feel.
- Light It Up: Once your lantern is ready, place a tea light candle or a small battery-operated LED light inside the can. These lanterns can be hung from tree branches, pergolas, or shepherd’s hooks, adding a magical glow to your garden space.
Metal Can Wind Chimes: A Creative Way to Reuse Old Cans
Wind chimes are a timeless garden accessory that brings a peaceful, melodic ambiance to any outdoor space. By repurposing old metal cans, you can create a set of DIY wind chimes that not only look great but also produce a gentle, soothing sound when the wind blows. This is an excellent project for upcycling cans of different sizes, creating an eclectic, charming design for your garden.
Step-by-Step Guide to Creating Metal Can Wind Chimes
- Materials Needed:
- Several metal cans (of varying sizes for different tones)
- Hammer and nail (to create holes for hanging)
- String or fishing line
- Paint and brushes (optional for decoration)
- Metal washers or small stones (for added sound)
- A sturdy stick or ring to hang the wind chimes
- Prepare the Cans: Clean the cans thoroughly, as described earlier, and remove any sharp edges. Decide whether you’d like to paint the cans for a pop of color or leave them natural for a more industrial, rustic look.
- Puncture Holes for Hanging: Use a hammer and nail to punch holes into the bottom and sides of each can. The bottom hole will be used to thread the cans together, while the side holes are for attaching the string or line that will hang from your main support (stick or ring). Punching a few extra holes in the sides can also allow the cans to make more noise when they catch the wind.
- Thread and Assemble the Wind Chimes: Cut several pieces of string or fishing line, each of varying lengths depending on how long you want each can to hang. Thread the string through the holes in the cans, tying knots to secure them. You can alternate between tying cans directly to the main support or attaching small stones or metal washers in between to create a fuller sound when the wind moves the chimes.
- Attach to the Main Support: Tie each piece of string with its can attached to the main stick or ring. Make sure they hang at different lengths to create a layered, cascading effect. Once everything is assembled, hang your wind chime in a breezy spot in the garden, and enjoy the soothing sounds of your upcycled creation.
By following these easy and fun projects, you can transform your garden into a creative, eco-friendly haven. DIY metal can planters, lanterns, and wind chimes not only add unique personal touches but also promote sustainable living by reducing waste. As you continue exploring the world of upcycled garden decor, you’ll find endless possibilities for reusing old materials to make your outdoor space truly one-of-a-kind.
Upcycled Metal Can Bird Feeders for Your Garden
Bird feeders made from upcycled metal cans are a fantastic way to invite nature into your garden while repurposing old materials. These bird feeders are simple to make, highly customizable, and an excellent project for families or anyone looking to add a personal touch to their outdoor space. Plus, they serve a practical purpose—helping feed local birds, especially during colder months when food can be scarce.
Step-by-Step Guide to Making Metal Can Bird Feeders
- Materials Needed:
- Old metal cans (small to medium sizes work best)
- Hammer and nail (for making holes)
- String or wire (for hanging)
- Paint and brushes (optional for decoration)
- Birdseed
- Twigs or dowels (for perches)
- Superglue or hot glue gun (for securing the perch)
- Punch Holes for Hanging: Using a hammer and nail, punch two small holes on opposite sides of the open end of the can. These holes will be used to attach string or wire, allowing the feeder to be hung securely from a tree or hook.
- Add a Perch: Birds need a place to land while feeding, so you’ll want to attach a small twig, dowel, or similar item to the feeder. Using superglue or a hot glue gun, secure the twig or dowel horizontally across the opening of the can, leaving enough space for birds to comfortably sit and eat. Make sure the perch is strong enough to support the weight of small birds.
- Decorate the Bird Feeder (Optional): For a more personalized and colorful touch, you can paint the outside of the can. Consider using weather-resistant paint so that your feeder can withstand the elements. You might choose to paint patterns, stripes, or even stencil in designs that match your garden’s theme.
- Fill with Birdseed: Once the decoration is complete and the glue is dry, fill the can with birdseed. You can use a general birdseed mix or choose a specific type of seed depending on the birds you want to attract.
- Hang Your Bird Feeder: Thread string or wire through the holes you punched earlier and tie securely. Hang the feeder from a tree branch, fence, or garden hook. Make sure it’s positioned in a safe, accessible spot where birds can enjoy their meal without being disturbed by predators.
Using Old Metal Cans as Garden Markers or Labels
If you have a garden filled with a variety of plants, herbs, or vegetables, keeping track of what’s growing where can be a challenge. Metal cans can be easily transformed into durable, weather-resistant garden markers or labels, adding both function and a rustic, DIY charm to your garden.
Step-by-Step Guide to Creating Metal Can Garden Markers
- Materials Needed:
- Old metal cans (aluminum or tin cans work best)
- Tin snips or metal scissors
- Hammer and nail (for creating holes if needed)
- Paint or permanent markers (for labeling)
- Sticks, stakes, or dowels for mounting
- Cut the Cans into Labels: Carefully use tin snips or metal scissors to cut the metal can into flat strips or small rectangles, depending on the size of the marker you want. Be cautious when cutting the metal, as the edges can be sharp. You may want to wear gloves for added safety.
- Smooth the Edges: Once the cans are cut into your desired shape, use fine-grit sandpaper to smooth down any sharp or jagged edges. This will make the markers safer to handle and give them a more finished look.
- Label the Markers: Using outdoor-friendly paint, permanent markers, or metal engraving tools, label each marker with the name of the plant or vegetable you want to identify. You can get creative with the design, adding decorative touches like small drawings or patterns to match your garden’s style.
- Attach to Stakes or Dowels: To turn your labeled cans into markers, attach them to wooden stakes, dowels, or even bamboo sticks. You can either glue or wire them to the stake, ensuring that the marker will stand securely in the soil.
- Place in the Garden: Once your garden markers are ready, place them in front of the corresponding plants, herbs, or vegetables. These upcycled markers will not only keep your garden organized but also add a touch of handmade charm to your outdoor space.
DIY Metal Can Herb Garden: Perfect for Small Spaces
For those who have limited outdoor space or simply want a small, convenient garden, a metal can herb garden is an ideal project. Whether placed on a windowsill, hung from a wall, or mounted on a fence, metal cans offer a practical solution for growing fresh herbs in compact areas. This project is perfect for urban gardeners or anyone looking to grow their own herbs without needing a large garden bed.
Step-by-Step Guide to Creating a Metal Can Herb Garden
- Materials Needed:
- Several old metal cans (small to medium sizes work best)
- Hammer and nail (for creating drainage holes)
- Paint or markers (for labeling and decorating)
- Potting soil
- Herb plants or seeds
- Twine or metal brackets (for hanging, if desired)
- Create Drainage Holes: As with any planter, proper drainage is crucial to prevent water from sitting in the bottom of the cans and causing root rot. Use a hammer and nail to punch small drainage holes in the bottom of each can. This ensures excess water can escape after watering.
- Decorate and Label the Cans (Optional): Personalize your herb garden by painting or labeling the cans with the names of the herbs you’ll be growing. Use weather-resistant paint or permanent markers to ensure the labels last. If you prefer a more rustic or minimalist look, you can leave the cans as they are, letting the natural metal shine.
- Plant Your Herbs: Fill each can with potting soil, leaving enough room to plant your chosen herbs. Metal cans are ideal for herbs like basil, mint, rosemary, thyme, and parsley, which don’t require deep root systems. After planting, water the herbs thoroughly and place the cans in a sunny location.
- Arrange or Hang the Herb Garden: If you’re working with limited space, consider mounting the metal cans on a vertical surface, such as a wall, fence, or trellis. You can use brackets, nails, or even twine to hang the cans. For an indoor herb garden, place the cans on a sunny windowsill or countertop.
- Care for Your Herb Garden: Metal cans heat up quickly in direct sunlight, so it’s important to monitor your herb garden for signs of overheating or dehydration. Water your herbs regularly and ensure they receive the appropriate amount of sunlight based on the needs of each plant. With proper care, your upcycled metal can herb garden will thrive, providing fresh, homegrown herbs for your kitchen.
These simple and eco-friendly projects demonstrate the versatility of old metal cans in garden decor. By transforming cans into bird feeders, garden markers, or herb gardens, you’re not only reducing waste but also creating functional, attractive additions to your outdoor space. With a little creativity and effort, your garden can become a vibrant, sustainable showcase of upcycled beauty.
Metal Can Sculptures: Turning Old Cans into Artistic Garden Decor
For those with a passion for art and creativity, turning old metal cans into unique garden sculptures is an exciting and rewarding project. Whether you’re crafting abstract art, whimsical animals, or intricate designs, upcycling metal cans into sculptures is a way to add a distinctive touch to your garden while showcasing your artistic flair. Plus, metal can sculptures are durable and weather-resistant, making them perfect for outdoor use.
Step-by-Step Guide to Creating Metal Can Sculptures
- Materials Needed:
- Old metal cans (various sizes, depending on your design)
- Metal snips or scissors (for cutting and shaping)
- Sandpaper (for smoothing edges)
- Hammer and nails (for creating holes)
- Metal wire, screws, or hot glue (for assembling pieces)
- Paint and brushes (optional for decoration)
- Decide on a Design: Before you begin cutting and shaping, decide on what type of sculpture you want to create. Popular ideas include animals like birds, insects, or fish, as well as abstract shapes or floral designs. Sketch out a rough idea to guide your construction process.
- Cut and Shape the Cans: Use metal snips to cut and shape the cans according to your design. For example, if you’re making a bird, you might use larger cans for the body and smaller cans for the wings and head. Be careful while cutting, as the edges can be sharp—wear gloves for protection. Once cut, smooth the edges with fine-grit sandpaper to prevent injuries and give the sculpture a polished look.
- Assemble the Sculpture: Depending on the complexity of your sculpture, you can attach the pieces together using metal wire, screws, or strong glue. Metal wire is great for sculptures that require flexibility, while screws provide a more secure hold for heavier pieces. Make sure the structure is stable and balanced, especially if it will be displayed outdoors in windy conditions.
- Decorate the Sculpture (Optional): If you want to add color or texture to your sculpture, consider painting the cans with weather-resistant paint. You can use metallic spray paint for a sleek, industrial look or bright colors for a more playful design. You can also glue on embellishments like beads, small stones, or buttons to add further detail.
- Display in Your Garden: Once your sculpture is complete, find the perfect spot in your garden to display it. Metal can sculptures can be placed on the ground, attached to fences, or hung from trees, depending on the design. These unique creations will add a focal point to your garden, sparking curiosity and admiration from visitors.
Conclusion: Transforming Your Garden with Upcycled Metal Can Projects
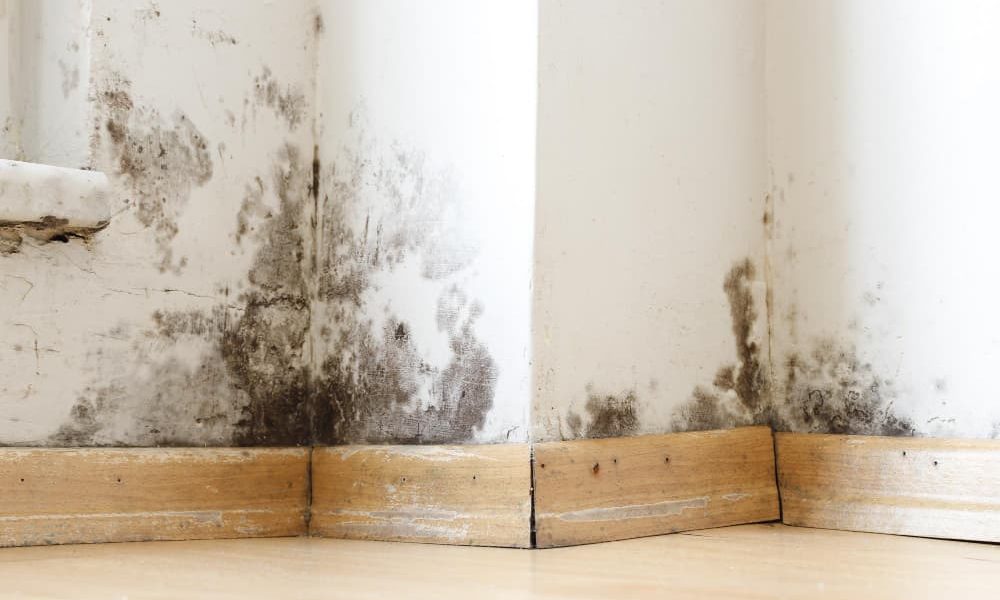
Knowing how to eliminate moisture that rises from the ground is not easy: today we will provide you with Read more
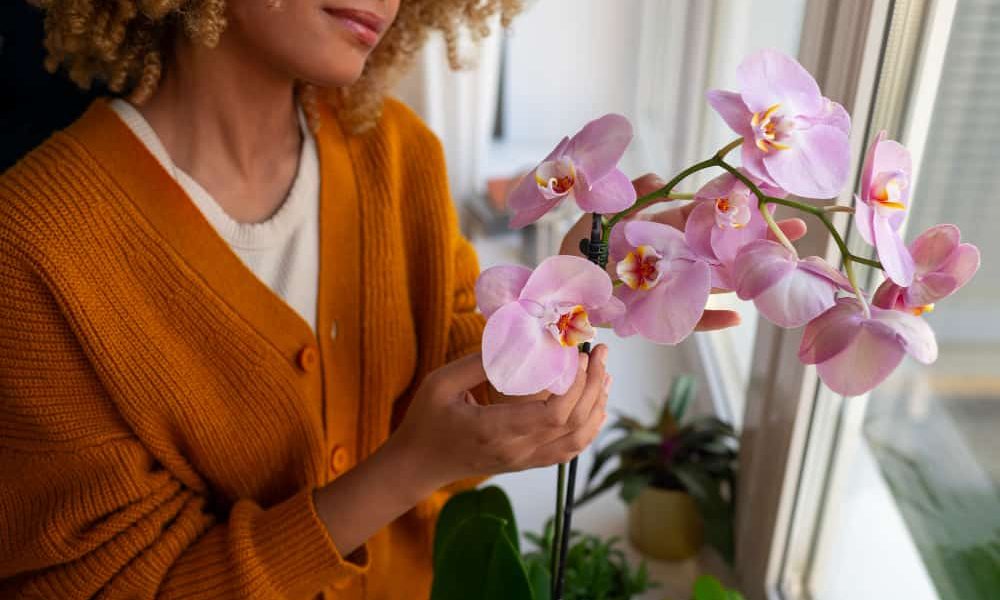
Discover how to care for an orchid with our expert guide, covering everything from proper lighting to disease prevention. Read more
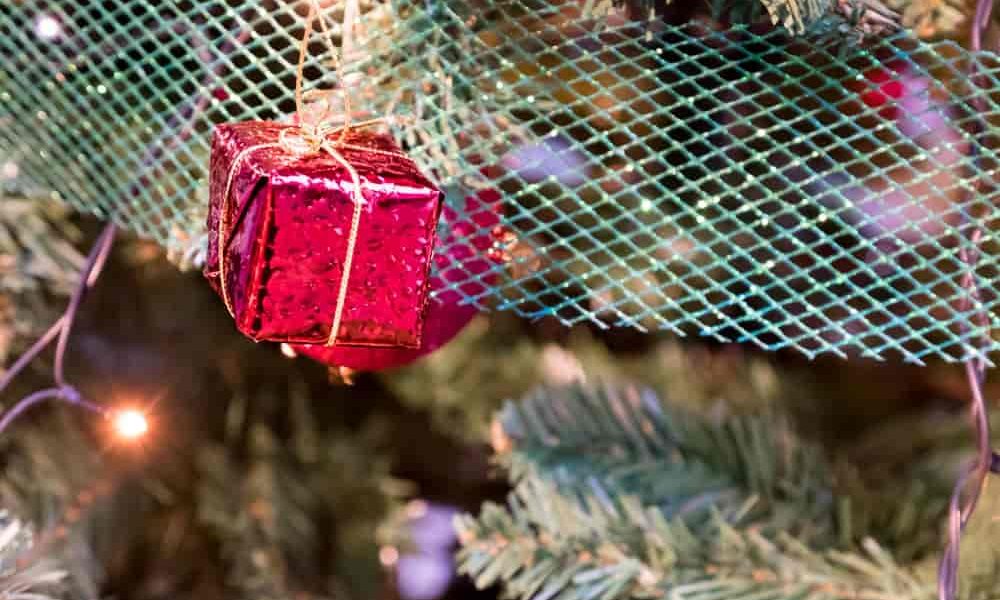
If you have run out of ideas, but you want to know how to decorate a Christmas tree with tinsel, Read more
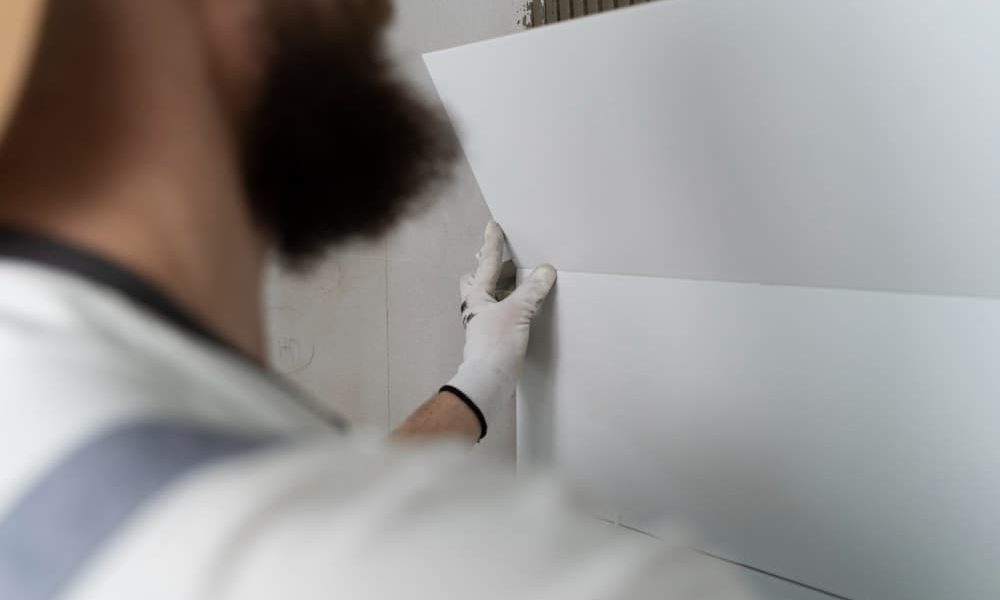
If you are interested in learning how to safely install anti-humidity plates on your own, saving time and money, don't Read more
Upcycling old metal cans into garden decor is a fun, creative, and eco-friendly way to beautify your outdoor space. From simple planters to intricate sculptures, these projects offer endless possibilities for transforming discarded materials into functional and artistic pieces. Not only does upcycling reduce waste, but it also provides an opportunity to customize your garden with unique, handmade creations that reflect your personal style.
By turning old metal cans into planters, lanterns, wind chimes, bird feeders, garden markers, herb gardens, and sculptures, you’re contributing to a sustainable lifestyle while enhancing the charm of your garden. The next time you’re about to toss a metal can into the recycling bin, consider the potential it holds for becoming your next DIY project.
Whether you’re a beginner or an experienced crafter, these upcycled metal can projects are a great way to explore your creativity while doing something positive for the environment. Start with a simple planter or bird feeder, and as you gain confidence, move on to more complex designs like lanterns, wind chimes, or sculptures. With a little effort, your garden can become a showcase for sustainable, artistic decor that’s both practical and visually stunning.
So, gather your old metal cans, grab your tools, and get started on your next upcycled garden decor project! Your garden—and the planet—will thank you.


