In today’s world, where sustainability is becoming increasingly important, many people are looking for ways to reduce waste and make environmentally conscious choices in their daily lives. One of the easiest and most effective ways to start living more sustainably is by upcycling—repurposing old or discarded items instead of throwing them away. Upcycling not only helps reduce waste but also gives everyday objects a new life and purpose.
Among the many items that can be upcycled, glass jars are perhaps the most versatile and practical for home use. Whether it’s an empty jar from pasta sauce, pickles, or even baby food, glass jars can be transformed into stylish and functional storage containers for your kitchen. Their durability, transparency, and eco-friendliness make them an ideal choice for organizing pantry staples, storing leftovers, and even displaying items on your countertops.
This guide will walk you through how to upcycle glass jars into DIY kitchen storage containers, offering step-by-step tips on choosing the right jars, decorating them to match your style, and ensuring they are airtight for long-lasting use. You’ll also discover the many ways glass jars can help keep your kitchen organized while adding a touch of rustic charm or modern elegance.
Ready to declutter your kitchen, save money, and contribute to a greener planet? Let’s dive into the world of upcycling glass jars!
Choosing the Right Glass Jars for Upcycling Projects
Upcycling is a great way to give new life to items you might otherwise discard, and when it comes to storage solutions in the kitchen, glass jars are one of the most versatile and eco-friendly options available. But before diving into an upcycling project, it’s important to choose the right glass jars to ensure that your storage is not only functional but also aesthetically pleasing.
Why Glass Jars Are Ideal for Kitchen Storage
Glass jars offer numerous benefits, especially when compared to other storage containers like plastic. First, they are naturally non-toxic, meaning you won’t have to worry about harmful chemicals leaching into your food. Glass is also impermeable, which makes it excellent for preserving the freshness of food. Plus, glass jars are durable and can be used over and over again, which reduces waste and promotes sustainability—a key principle of upcycling.
Now, when you’re selecting jars to repurpose, think about the type of storage you need. Are you looking for containers to store bulk grains and spices, or do you need jars for your homemade sauces and jams? Let’s explore some key considerations to help you choose the right glass jars for your DIY kitchen storage projects.
Types of Glass Jars to Consider
- Mason Jars: Mason jars are a popular choice for kitchen storage because they come in a variety of sizes and are designed with airtight lids, which makes them ideal for storing everything from dry goods to liquids. Their vintage look also adds a charming, rustic feel to your kitchen, whether they’re filled with grains, nuts, or even utensils. You can easily find them in local stores, or upcycle old mason jars you already have at home.
- Pickle or Jam Jars: Instead of throwing away pickle or jam jars, consider cleaning them out and reusing them as storage. These jars often come in medium sizes that are perfect for storing smaller pantry items like seeds, spices, or dried herbs. Their lids can also often be re-sealed tightly, making them a practical option for food storage.
- Olive Oil or Wine Bottles: While not technically jars, long-necked glass bottles like those used for olive oil or wine can also be repurposed. These are great for storing liquids, such as homemade dressings, oils, or vinegars. They also bring a sophisticated look to your kitchen when displayed on a countertop.
- Baby Food Jars: If you or someone you know uses baby food, the empty jars can be excellent for small storage needs. These tiny jars are perfect for organizing spices, seeds, or other small ingredients. With a bit of creativity, you can label them neatly and stack them on pantry shelves, bringing both functionality and a decorative element to your kitchen.
- Large Pasta or Sauce Jars: If you’re looking to store bulk items like flour, sugar, pasta, or beans, larger jars like those used for pasta sauces are ideal. Their size allows you to store larger quantities, and the wide mouths make it easy to scoop out ingredients. These are often easy to find and repurpose, making them a cost-effective option.
Cleaning and Prepping Your Jars for Upcycling
Before you begin using any jar for kitchen storage, it’s important to clean it thoroughly. Even if the jar looks clean, lingering food residues can impact the quality and safety of the food you plan to store.
Start by removing any labels. A great trick for removing stubborn labels is to soak the jars in warm, soapy water for 15 to 20 minutes. If some glue remains after soaking, a mixture of baking soda and vegetable oil can work wonders in dissolving the residue. Once the label is removed, wash the jars thoroughly with warm water and dish soap. For a deeper clean, you can also run them through a cycle in the dishwasher.
Finally, make sure your jars are completely dry before using them for storage—especially if you’ll be storing dry goods like grains or flour. Any moisture can lead to mold, which can ruin your food and make your storage efforts pointless.
Decorating Ideas for DIY Glass Jar Kitchen Storage
Once you’ve chosen and prepped your jars, it’s time for the fun part: decorating them to match your kitchen’s style. One of the great things about upcycling is that you can customize your jars to suit your taste, whether you prefer a minimalist look or something more colorful and decorative.
Chalkboard Labels for Easy Identification
One of the simplest and most practical ways to decorate your glass jars is by adding chalkboard labels. These labels are easy to find in craft stores or online, and they can be written on with chalk or a chalk pen. The best part? You can erase and rewrite the labels whenever you switch out the contents of the jar. This flexibility is perfect for kitchen storage, where ingredients may change frequently.
If you’re feeling extra crafty, you can even make your own chalkboard paint and apply it directly to the jars. Simply tape off the area you want to label, paint on a few coats of chalkboard paint, and let it dry. This DIY approach gives you more control over the size and shape of your labels.
Add a Pop of Color with Paint
If your kitchen could use a splash of color, consider painting your glass jars. You can use glass-friendly spray paint or acrylic paints to create unique designs. One idea is to paint the lids in bold colors that complement your kitchen’s palette. You could also paint the bottom half of the jar for a subtle, modern look, leaving the top half clear so you can still see what’s inside.
For a more rustic, vintage vibe, try distressing the paint after it dries by lightly sanding over the painted surface. This technique works especially well with pastel colors or white paint, giving your jars an old-world charm that fits perfectly in farmhouse-style kitchens.
Dress Up the Lids
Another way to add character to your upcycled jars is by decorating the lids. You can wrap the lid in decorative fabric or twine for a farmhouse look, or use patterned washi tape for a quick and easy update. This small touch can make a big difference in tying the jars together with the rest of your kitchen decor.
Use Stencils for Intricate Designs
If you’re artistically inclined, stenciling can be a great way to add intricate designs to your jars. Floral patterns, geometric shapes, or even words like “sugar” or “flour” can be stenciled onto the jars for a personal touch. Stencils allow you to create professional-looking designs with minimal effort.
By carefully selecting your glass jars and adding decorative touches, you can transform simple containers into stylish and functional kitchen storage solutions.
Practical Uses for Glass Jars in the Kitchen
Once you’ve chosen and decorated your glass jars, it’s time to put them to work. Glass jars are incredibly versatile and can be used to store a wide variety of items in your kitchen. Whether you’re looking to organize your pantry, keep your fridge neat, or add a touch of charm to your countertops, there’s a glass jar for every job.
Storing Dry Goods
One of the most practical uses for glass jars in the kitchen is storing dry goods. Their clear glass walls allow you to easily see what’s inside, making them perfect for organizing ingredients like rice, pasta, flour, sugar, oats, beans, and nuts. Not only does this help with organization, but it also keeps your pantry looking visually appealing.
For smaller items like spices or seeds, smaller glass jars like baby food jars or spice jars work wonders. You can line them up on a shelf or store them in a drawer with labeled lids for easy access. This method makes it simple to see when you’re running low on a particular ingredient, and it prevents your pantry from becoming a cluttered mess of bags and boxes.
Storing Liquids
Glass jars aren’t just for dry goods—they’re also great for liquids. Mason jars, with their airtight lids, are perfect for storing homemade sauces, dressings, or soups. Because glass is non-porous, it won’t absorb any flavors or odors, ensuring that the contents remain fresh and pure. They also withstand high temperatures, so you can safely store hot liquids in them without worrying about chemical leaching, which can happen with plastic containers.
For beverages, tall glass bottles or jars can be used to store juices, smoothies, or infused water. They’re great for keeping drinks fresh in the fridge and can even double as serving vessels when entertaining guests.
Refrigerator Organization
If your fridge is a chaotic jumble of containers, consider using glass jars to streamline your storage. You can store chopped fruits and vegetables, leftovers, or even meal-prepped ingredients in glass jars. Since they’re transparent, it’s easy to see what’s inside, which helps cut down on food waste—no more forgotten leftovers hidden at the back of the fridge.
One of the best parts of using glass jars in the fridge is their ability to keep food fresh for longer. The airtight seal provided by lids helps lock in moisture and prevent spoilage, making jars an ideal choice for items like herbs, leafy greens, or pre-cut produce.
Countertop Storage and Display
Glass jars aren’t just practical—they can also serve as attractive countertop displays. If you have bulk items like coffee beans, pasta, or grains, consider storing them in large glass jars and displaying them on your countertops or open shelving. Not only does this free up space in your pantry, but it also adds a rustic or modern touch to your kitchen decor.
In addition to food storage, glass jars can be used to hold kitchen utensils like wooden spoons, spatulas, or whisks. You can also use them for storing smaller kitchen tools like measuring spoons, cookie cutters, or even tea bags. This approach keeps frequently used items within easy reach while maintaining a clean, organized kitchen.
Airtight Sealing Techniques for Long-Lasting Storage
One of the most important aspects of using glass jars for kitchen storage is ensuring that they’re airtight, especially if you plan to store perishable foods or dry goods. Without proper sealing, moisture and air can cause food to spoil more quickly, or pests may find their way into your pantry. Fortunately, there are several methods to make sure your glass jars are tightly sealed and ready for long-term use.
Choosing the Right Lids
When it comes to airtight storage, the lid is just as important as the jar. Most glass jars come with a variety of lid types, and selecting the right one can make a big difference in how well your food stays fresh.
- Screw-Top Lids: These are perhaps the most common lids used for glass jars. They’re typically found on mason jars and other reusable jars, and they provide a tight, secure fit. To ensure the best seal, check that the rubber ring inside the lid is intact and clean. Over time, the rubber can wear out, so replacing old lids or adding new gaskets may be necessary to maintain an airtight seal.
- Clip-Top Lids: Some glass jars come with clip-top lids that feature a rubber gasket around the rim. These jars are especially good for long-term storage of dry goods, as they create an airtight seal when the clip is fastened down. If you’re storing flour, sugar, or pasta, clip-top jars are a fantastic option. The rubber gasket should be periodically checked for cracks or wear to ensure the seal remains effective.
- Plastic Lids with Silicone Gaskets: If you’ve upcycled jars with plastic lids, adding a silicone gasket can help make the jar airtight. You can find silicone gaskets online or in stores that sell kitchen supplies. These gaskets fit inside the lid and create a barrier that prevents air from entering the jar when closed.
DIY Airtight Solutions
If your jar lids aren’t quite airtight but you want to repurpose them anyway, don’t worry—there are a few DIY solutions to improve the seal. One popular method is using wax paper or plastic wrap. Simply place a small piece of wax paper or plastic wrap over the jar opening before securing the lid. This extra layer creates a tighter seal, making the jar more suitable for storing food.
Another option is using rubber bands. If your jar has a slightly loose-fitting lid, wrapping a thick rubber band around the top of the jar can help tighten the seal. This method is particularly useful for short-term storage of dry goods.
Creative Labeling and Organization for DIY Glass Jar Storage
One of the most important aspects of using glass jars for kitchen storage is keeping everything organized. While glass jars allow you to see what’s inside, adding clear and attractive labels can take your organization to the next level. Not only will this help you quickly identify ingredients, but it also adds a personalized touch to your kitchen decor.
Chalkboard Labels for Flexibility
One of the best options for labeling glass jars is chalkboard labels. These adhesive labels are easy to apply, and you can write on them with chalk or a chalk pen. The advantage of using chalkboard labels is that they’re erasable, so if you ever change the contents of the jar, you can easily update the label without replacing it. This is especially useful in a busy kitchen where ingredients and pantry items are constantly rotating.
Printed or Handwritten Labels
If you prefer something more permanent, consider using printed or handwritten labels. You can find waterproof label paper online or at craft stores that can be customized and printed at home. This option is great for those who want a more polished, professional look. For a rustic feel, you can handwrite your labels using a permanent marker or paint pen.
Color-Coded Labels for Easy Identification
For larger kitchens or households where multiple people are cooking, color-coding your labels can help make organization even easier. Assign different colors to different categories—such as blue for baking ingredients, green for grains, or red for spices. This system can help everyone in the kitchen quickly identify and locate the items they need.
Positioning and Placement Tips
Where you place your labels on the jars is just as important as the labels themselves. For pantry storage, it’s best to place labels on the side of the jars so they’re easily visible when stored on shelves. If you plan to stack jars or store them in drawers, consider placing the labels on the lids. This allows for quick identification, even when jars are stored in tight spaces.
Maintaining a Cohesive Look
For a streamlined and cohesive look, consider sticking to one labeling style or color scheme throughout your kitchen. Whether you opt for chalkboard labels, printed labels, or color-coded stickers, consistency will create a neat and organized appearance. By keeping your labeling uniform, you’ll also ensure that your kitchen feels cohesive and organized, even if your jars are mismatched in shape and size.
By utilizing airtight sealing techniques and creative labeling strategies, you can ensure your upcycled glass jars are both functional and beautifully organized. Whether you’re storing dry goods, liquids, or simply displaying items on your countertop, these small details make a big impact on your kitchen’s efficiency and style.
Benefits of Using Glass Jars for Sustainable Kitchen Storage
Upcycling glass jars for kitchen storage is not just a trendy DIY project—it’s a practical and eco-friendly approach that offers a range of benefits for both your home and the environment. Let’s dive into why glass jars are a smart choice for sustainable kitchen storage and how they can make a positive impact on your daily routine.
Eco-Friendly and Sustainable
One of the most compelling reasons to use glass jars for storage is their sustainability. Glass is 100% recyclable and can be reused indefinitely without losing quality. By upcycling glass jars instead of throwing them away, you’re reducing waste and diverting materials from landfills. This simple act can significantly reduce your carbon footprint, as glass production and recycling require less energy compared to producing new materials, like plastic.
Additionally, by choosing glass over plastic, you’re helping to reduce plastic pollution. Plastics are notorious for being difficult to recycle and can take hundreds of years to decompose in landfills. In contrast, glass jars are a long-lasting alternative that can be reused for years, making them a greener option for those looking to adopt a more sustainable lifestyle.
Health Benefits of Glass over Plastic
When it comes to food storage, glass is a much safer option than plastic. Many plastics contain harmful chemicals like BPA (bisphenol A), which can leach into your food, especially when heated. Glass, on the other hand, is non-toxic and doesn’t absorb odors, flavors, or chemicals from the foods stored inside. This makes glass jars ideal for storing everything from dry goods to liquids without the risk of contamination.
In addition, glass is non-porous, which means it won’t harbor bacteria or stains like plastic containers can. This feature ensures that your food stays fresh and safe for consumption, making glass jars an excellent choice for long-term storage.
Durability and Reusability
Glass jars are incredibly durable, especially when compared to plastic. With proper care, glass can last for decades without degrading, whereas plastic containers tend to warp, scratch, or break down over time. This makes glass a more cost-effective option in the long run, as you won’t need to constantly replace your storage containers.
Their durability also means that glass jars can withstand extreme temperatures. You can use them for freezing soups or storing hot liquids without worrying about warping or releasing harmful chemicals. This versatility makes glass jars a valuable addition to any kitchen, allowing you to use them in a variety of ways.
Stylish and Aesthetic Appeal
Beyond their practicality, glass jars add a touch of elegance to your kitchen. Their clear design allows you to display your pantry items in a way that’s both functional and visually appealing. Whether lined up on open shelves or neatly arranged in your pantry, glass jars give your kitchen a clean, organized, and stylish look.
For those who love a more rustic or vintage aesthetic, glass jars can be easily customized with decorative touches like labels, fabric, or paint (as discussed in previous sections). This flexibility allows you to tailor the look of your kitchen storage to suit your personal style, turning everyday items into design elements.
Upcycling Tips for Beginners: How to Start Using Glass Jars in Your Kitchen
If you’re new to upcycling and eager to start using glass jars in your kitchen, don’t worry—getting started is easier than you think. With a few simple steps, you can begin transforming old jars into beautiful, functional storage solutions that help keep your kitchen organized and sustainable.
Step 1: Collect and Clean Your Jars
The first step in any upcycling project is to gather your materials. Start by collecting glass jars from everyday items like pasta sauces, pickles, jams, or even baby food. You can also check out thrift stores or ask friends and family for any jars they might be planning to discard.
Once you’ve gathered your jars, make sure to clean them thoroughly. Soak the jars in warm, soapy water to remove any labels and residual glue. For stubborn glue, a mixture of baking soda and oil can be used to scrub it off. After cleaning, dry the jars completely before moving on to the next step.
Step 2: Choose Your Storage Needs
Think about what you want to store in your jars and select the right sizes for the job. Larger jars are ideal for bulk items like flour, sugar, or pasta, while smaller jars work well for spices, seeds, or herbs. You can also use jars for liquids like sauces, dressings, or soups—just be sure to use jars with airtight lids to keep the contents fresh.
If you’re feeling creative, consider using glass jars beyond just food storage. You can repurpose them to store utensils, kitchen tools, or even use them as planters for herbs. The possibilities are endless, and glass jars can be adapted to fit any of your kitchen needs.
Step 3: Get Creative with Decoration and Labeling
Once you’ve selected the jars and determined what you’ll store in them, it’s time to add a personal touch. As discussed in the previous sections, decorating your jars can be as simple or elaborate as you like. Chalkboard labels, painted lids, or stenciled designs can add character and charm to your jars, making them both functional and beautiful.
Labeling is key to staying organized, especially if you’re using multiple jars for different ingredients. Chalkboard labels are a flexible option that can be updated easily, while printed or handwritten labels offer a more permanent solution. For an extra cohesive look, try sticking to a consistent color scheme or labeling style throughout your kitchen.
Step 4: Organize Your Kitchen with Upcycled Jars
Now that your jars are cleaned, decorated, and labeled, it’s time to organize your kitchen. Place frequently used items like spices, flour, or sugar in accessible locations, such as on countertops or open shelves. Group similar items together—like grains, baking ingredients, or snacks—for easy access and a tidy, streamlined look.
For a cohesive aesthetic, consider displaying your jars in rows on open shelves or grouping them by size and shape. This will not only help keep your kitchen looking neat but also make it easier to find what you need at a glance.
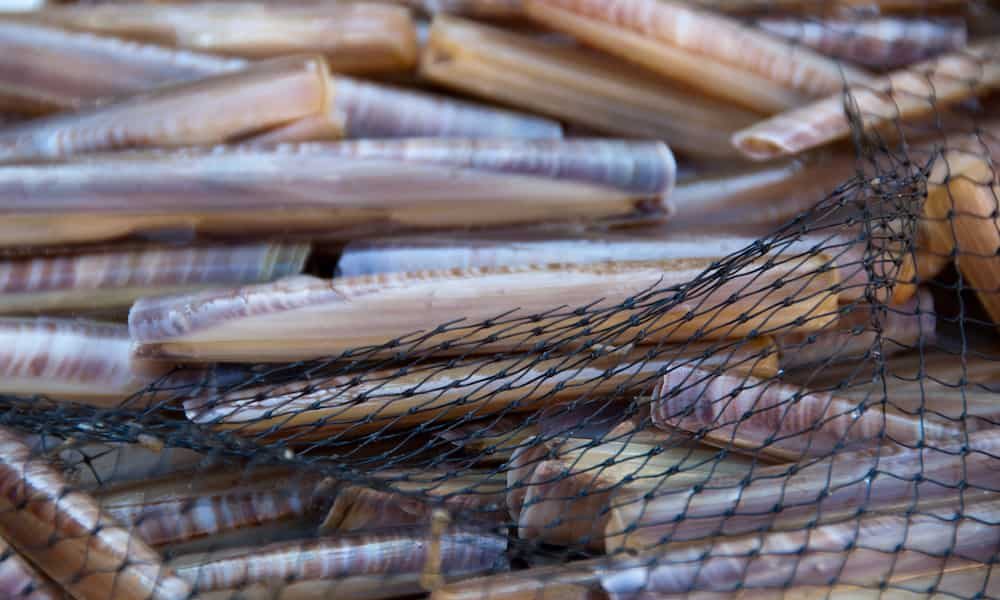
Do you want to know how to remove sand from razor clams and enjoy this marine mollusk? Find out how Read more
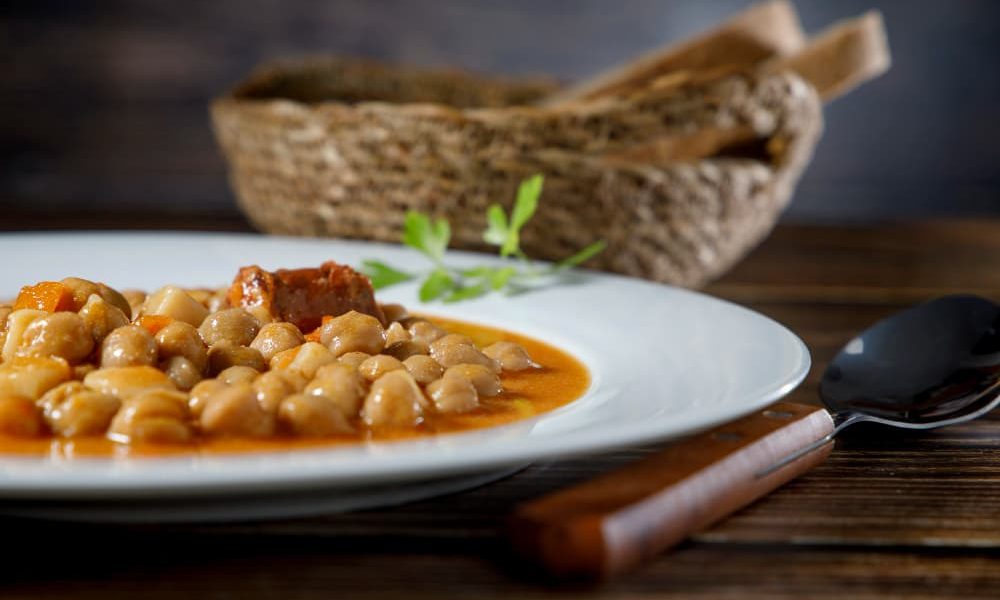
To all lovers of good cuisine and flavor, we are going to explain how to make stew with jarred chickpeas Read more
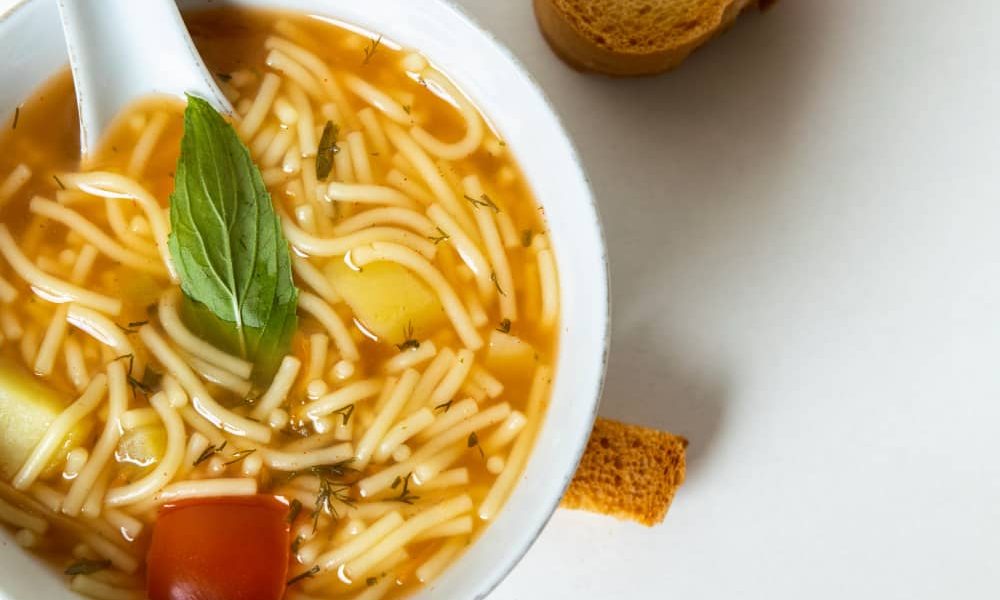
Would you like to learn how to make noodle stew? Especially in the cold months, it is good to know Read more
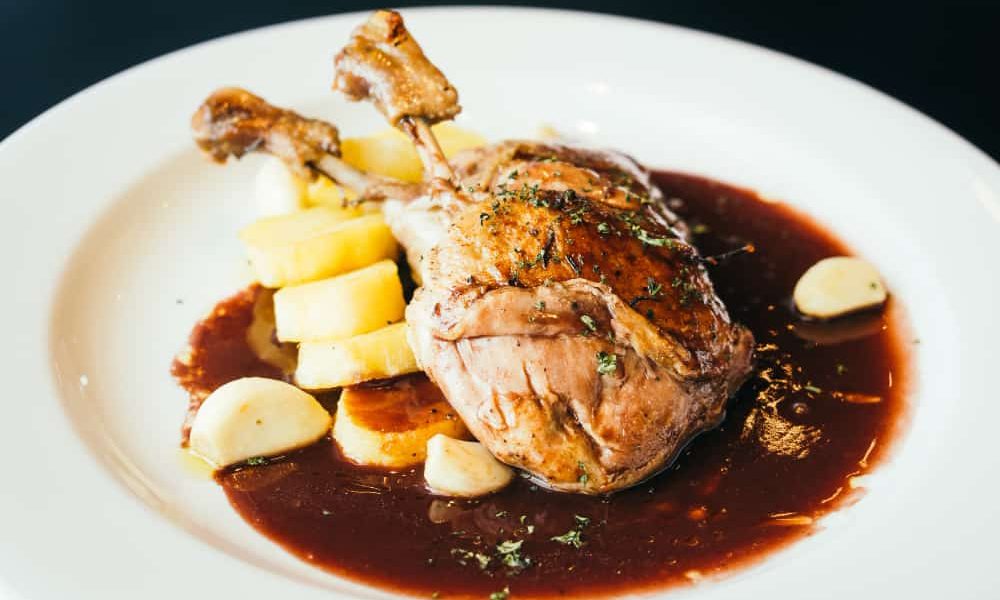
If you have prepared this dish and need to find out which is the best sauce for duck confit, here Read more
Conclusion
Upcycling glass jars into DIY kitchen storage containers is a simple and sustainable way to organize your kitchen while reducing waste. By selecting the right jars, adding personal touches, and utilizing effective sealing techniques, you can create a functional, stylish, and eco-friendly storage system that’s perfect for any kitchen.
The beauty of upcycling is that it allows you to repurpose everyday items in a way that reflects your personal style while contributing to a greener, more sustainable future. Whether you’re new to DIY projects or a seasoned upcycler, using glass jars for kitchen storage is a rewarding and practical solution that combines creativity with sustainability.
Now that you’re equipped with all the tips and tricks, it’s time to dive into your own upcycling project. Gather your jars, get creative with your designs, and enjoy the satisfaction of a well-organized, eco-friendly kitchen!


